Remote Desktop for Mac
Instructions for installing Microsoft Remote Desktop for Mac at home
*Please note that installation and connection of the Global Protect VPN client is required for the use of Microsoft Remote Desktop to function from off campus.
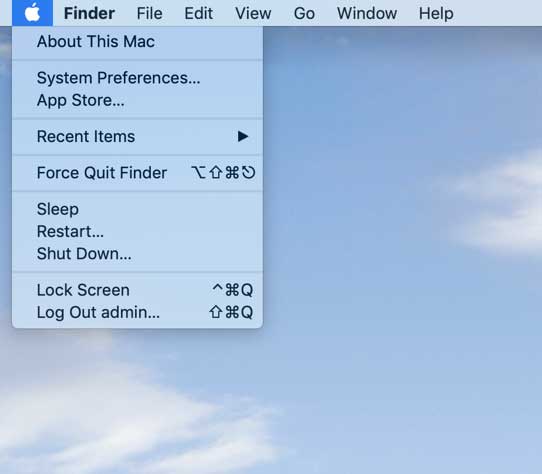
- Click the Apple in the upper-right corner of your screen and then click App Store…
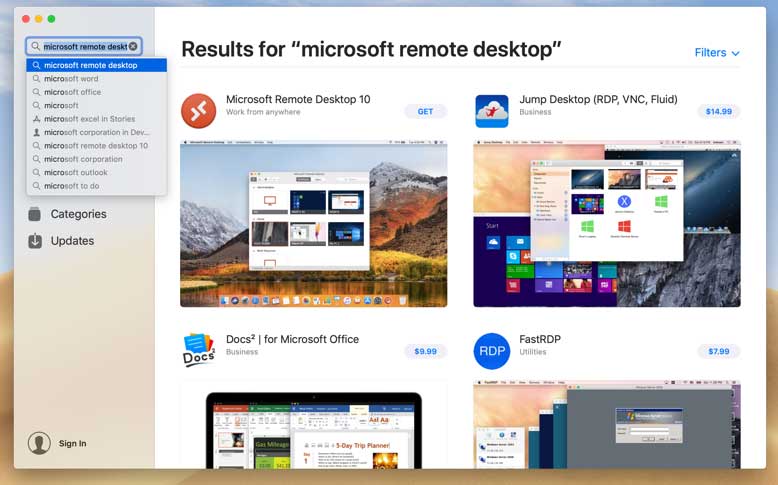
- In the search box to the upper left of the App Store window type: Microsoft remote desktop. Then hit return and then click Install or Get beside the Microsoft Remote Desktop 10 app app in the search results.
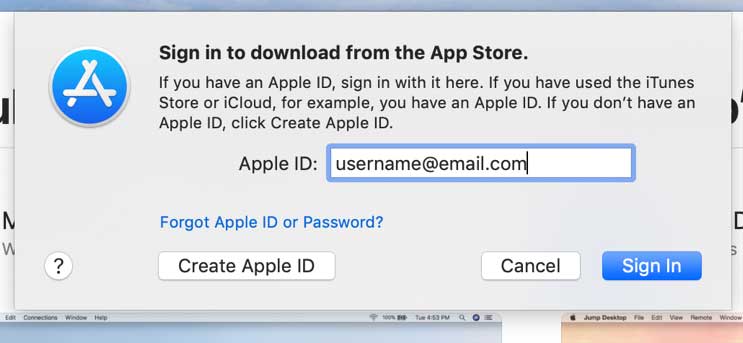
- Enter your Apple ID and password. If you do not have one, click Create Apple ID and follow the steps to create one.
- You may select Yes or Not now to the prompt about sharing your usage. This is a personal preference and will not impact the use of the software.

- You may next be prompted to allow the use of your camera and/or microphone. If you know of an individual need for this hardware within remote desktop you may select Ok, otherwise Don’t Allow is fine.

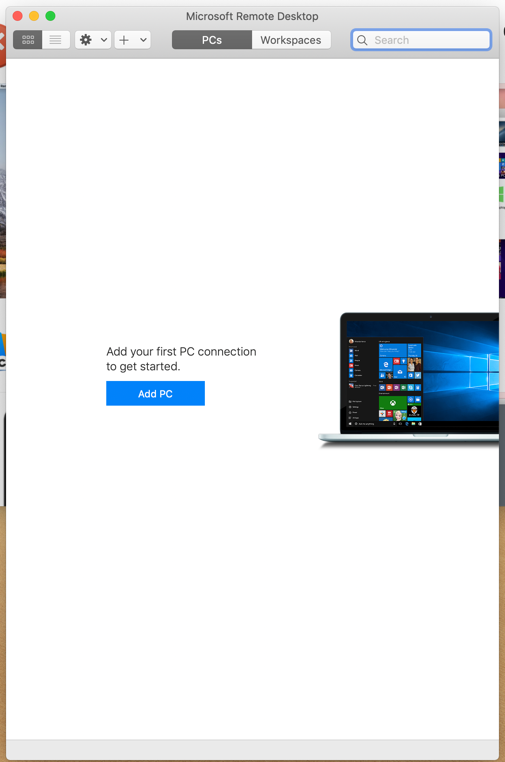
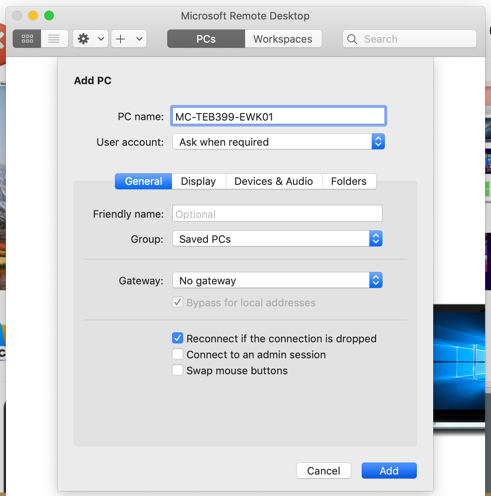
- You are now ready to add your PC’s information. Please click the blue Add PC button or the + Icon on the menu bar.
- In the PC Name box that appears at the top of the Add PC window please enter your complete PC name and click Add. Help with finding this information is available at https://www.mga.edu/technology/services/vpn.php.
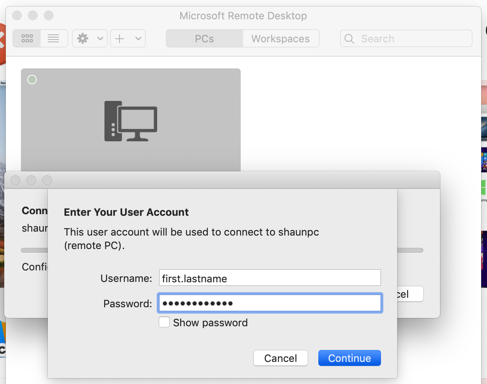
- Your PC should now show up in the list. Double clicking it will prompt you to enter your MGA username and password. Then click continue.
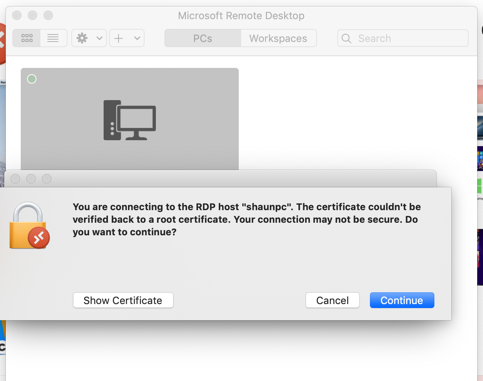
- You may receive a certificate warning, please click Continue.
- You should now be able to connect to your campus Windows PC. If you encounter any issues please submit a help ticket at https://help.mga.edu